How to Setup a Perfect NextJS Project — TypeScript, Tailwind, and SASS

NextJS is a React-based web development framework that answers all my needs when developing React web applications. It has great features such as SSR (Server-side Rendering), easy to understand routing, and backend feature capabilities.
In this article, I will show you how to setup a NextJS project every time I need to start a new one. I hope this can be useful for you.
Create NextJS project with TypeScript
I prefer TypeScript over plain JavaScript because of its type-checking and NextJS has a great TypeScript support. To create a new NextJS project with TypeScript, run this command in the Terminal:
$ yarn create next-app --typescriptI use Yarn to manage the packages and will use it throughout this article. If you prefer NPM or PNPM, please read this documentation.
Add TailwindCSS
TailwindCSS makes styling the components faster and easier. It’s a CSS library of utility classes. And by default, TailwindCSS resets global styling so we can have consistent styles accross browsers.
To add TailwindCSS in the project, run this command:
$ yarn add -D tailwindcss postcss autoprefixerThe command above will add TailwindCSS and its dependencies to the project as devDependencies (you can see the content of package.json in the project’s root folder).
Then, we need to initialize TailwindCSS by using this command:
$ npx tailwindcss init -pThat initialization command will prepare the project to handle TailwindCSS classes and configurations automatically. It also creates tailwind.config.js file in the root folder.
Next, open that file (tailwind.config.js) and add the lines like the snippet below to the “content” field:
/** @type {import('tailwindcss').Config} */module.exports = {
  content: [
    "./pages/**/*.{js,ts,jsx,tsx}",
    "./components/**/*.{js,ts,jsx,tsx}",
  ],
  theme: {},
  plugins: [],
}
It will instruct the project to generate the styles of the classes in use inside pages and components folder. So, when we apply TailwindCSS utility classes in components inside those two folders, the project will automatically generate the styles and refresh the development browser.
Last, we need to apply the TailwindCSS globals by replacing the content of styles/globals.css file with this:
@tailwind base;
@tailwind components;
@tailwind utilities;
Install Sass
I love CSS pre-processors from their initial days. It saves me a lot of time in writing CSS because of the variable and style-nesting. While we’re using TailwindCSS in this setup, we also need to write custom styles in our components. And SASS makes it easy to write styles on top of TailwindCSS and SASS support from NextJS makes it even easier.
To add SASS support to the project, run this command:
$ yarn add -D sassRun the Project
To start the project in development environment, run this command in the Terminal:
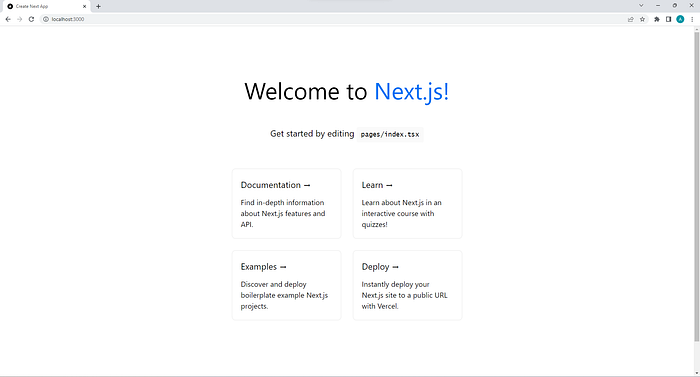
$ yarn devThen access http://localhost:3000 from your browser.

That’s all for this article. If you have questions or suggestions, please write in the comment. Thank you for reading!
